
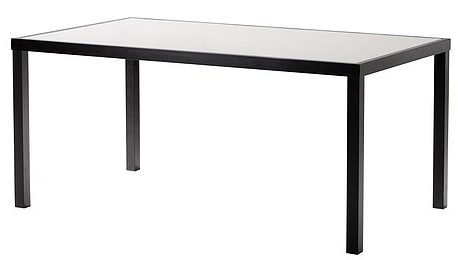
Start with making a table, as an example look at the IKEA site, say the table AMMERO, with dimensions (L/W/H) - (160/90/72):

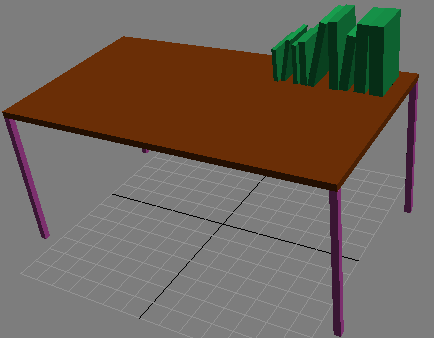
 Then, click on the modify tab and adjust the size of the box to the size of the table top. I.e. (L/W/H) - (160/90/3) and raise it on the z axis to 69.
 Now on to the legs. Create a random box and modify the parameters to be L/W/H - 3/3/69. And have this one leg coordinates me (X,Y,Z) - (-43.5,-78.5,0).
 Now, while the object is clicked, press shift and move the object to along the x-axis. And let go. You will have a clone of the leg. Set the coordinates of the new leg to (X,Y,Z) - (43.5,-78.5,0). Now select both of the legs, press shift and drag along the y-axis. Set the coordinates to (X,Y,Z) - (43.5,78.5,0) and (X,Y,Z) - (-43.5,78.5,0) respectively.
And that's it. The table is ready.

 On to pen and paper. This will be simple, the paper will be a box on top of the table and a primitive pen will be a cylinder. To create 3 sheets of paper, first create a box on top of the table, I created the legal size paper with (X,Y,Z) - (-20,0,72) and (L/W/H) - (21.59/28/0.1). Next, clone the sheet either using the rotate or move tool. Increase the position into the Z axis by 0.1, 72.1 and slightly rotate it. Repeat with the cloning again and increase the Z axis by 0.1 to 72.2.
Next create a cylinder with (X,Y,Z) - (-30,-21,72.5) and (R/H) - (0.5/14) and rotate it along the y-axis 90 degrees.
 And finally, the lamp. The lamp will have a base consisting of 2 cylinders, a rod and a cone.
The first cylinder will be the base of the lamp with (X,Y,Z) - (18,50,72) and (R/H) - (16/2).
The second cylinder is drawn on top of the first with (X,Y,Z) - (18,50,74) and (R/H) - (15/1.5).
The rod cylinder is drawn on top of the second cylinder with (X,Y,Z) - (18,50,75.5) and (R/H) - (1.5/30).
And finally the cone is drawn on top of the rod with (X,Y,Z) - (15,50,105.5) and (R1/R2/H) - (20/10/20).
And the simple lamp is complete as is the homework.
This is how the final scene looks like:

No comments:
Post a Comment